With lots of time at home and a lack of yeast in the shops a few people have got in touch with me about sourdough. This does make me a little uncomfortable because I am really not very good at it and certainly no kind of expert. But I do have a live culture right now and some success in making loaves from it, so all I can say is what I do. There is so much to read out there on the internet and so many people with better answers, feel free to try that too.
What I do is based on instructions from S John Ross, but the home of that on the internet has changed a couple of times. Here’s a version I found recently, but it’s less than the full pages that SJR wrote that I read ten years ago.
It’s worth bearing in mind that this is how humans have made bread for around 50,000 years. Bakers yeast is less than 100 years old. If cavemen could do a version of this, so can you. It’s not going to be as beautiful as some of the bakers on the internet, but who cares.
My starter – made ten years ago, but saved some – I spread it on a baking sheet and let it dry out then froze it. Last year I woke it up again and augmented with some crumbs posted to me from California in exchange for a few Paypal dollars thanks to the Friends of Carl. I have no idea how hygienic any of this and my kitchen is far from catering standards of clean, so if you have any concerns, and I’ve given you starter culture recently beware! Especially if you are in a vulnerable group!

Even worse, I did have a mould problem recently, which I fixed by pouring the mould off the top and taking a teaspoon of the culture from the very bottom, dishwashing the pot and then feeding frequently.
If you’re in feeding stage and leaving on the counter, the culture needs a daily feed. If you’re in a maintenance feed and it lives in the fridge, it needs feeding weekly.
You should wash the pot regularly – reserve a little bit of culture and wash the main pot. I put it in the dishwasher every time I bake.
My recipe uses American style cups because my kitchen scales broke years ago and I never got around to replacing them. Two things to think about if you’re not used to cups: a) loads of things you already have in your kitchen are approximately the same size as a 250ml cup:
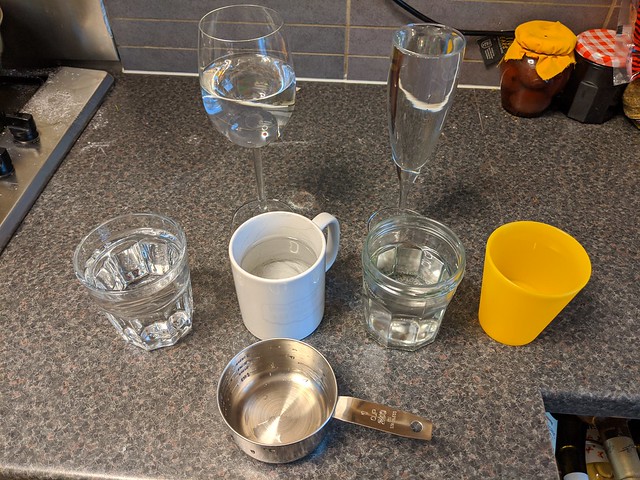
and b) the recipe is a ratio so it matters less what size cup you use and more that you use the same cup for all the ingredients.
To make a starter – Equal quantities of flour and water in a jar kept in a warm spot, every day for a week stir and pour half of it away and replace with more flour and water. It will start to bubble. Any flour except self raising, but strong white best and easiest, spelt and rye for flavour. In these days of limited availability of flour, you don’t need to use a whole cup every time. Some people maintain a starter with a tablespoon of flour in a tiny jam jar, but I think if you do this you need to feed it twice a day.
It’s supposed to smell beery and yeasty and a bit sour.
Once the starter is alive, you can actually start cooking with the bits you throw away, you don’t need to go through the full knead and bake routine. You can just fry sourdough starter in a hot pan with a little oil. There are also recipes for crumpets (be careful, baking soda and baking powder are different things…) and crackers. You can also make pancakes by beating an egg into one cup of discard. If you make tiny pancakes you can call them blinis.
If you were given a starter culture, here’s how you bake:
The day before you bake, you need to feed the culture to make enough starter for your baking the following day. You will need two cups of starter for the recipe plus leftover starter to keep alive for the next day’s baking, so feed the starter 1.5 cups of flour and 1.5 cups water. Leave it on the counter.
Ideally the starter is vigorous enough to double in size over night – you can keep an eye on it by putting a rubber band around the pot and seeing how big it gets. Ideally you bake with it when its at its biggest, it will grow and fall back. So long as there are bubbles on top and hopefully bubbles you can see through the sides, it’s ok to cook with.
Measure 3 cups of flour into a bowl. If you want rye or wholemeal, use that for some of the flour, but you’ll get a very heavy loaf if you don’t include at least some strong white bread flour. Add to the flour two cups of starter, then reserve the starter you’re going to keep in the fridge and wash up the starter pot. A tea spoon of salt. Optional extras: generous glug of olive oil and a table spoon of sugar to feed the culture. First stir it with a wooden spoon, then get your clean hands into it and knead. Some recipes have no kneading at all, some say you should knead for 10-20 minutes and do it so vigorously you get slightly breathless. I tend to punch it about a bit in the bowl or flour the worktop and stretch it a forearm’s length along the counter. If it’s flakey at this point, it’s too dry, add a teeny splash of water. If it stays sticky and won’t come off your hands it may be too wet, add a little flour. (but some bakers try and keep it really wet as that’s the best way to beautiful sourdough holes in the finished loaf.)
A very great deal has been written about proving, kneading and shaping doughs. You will found a million different ways of doing it on the internet. And making bread. Here’s the very little I do:
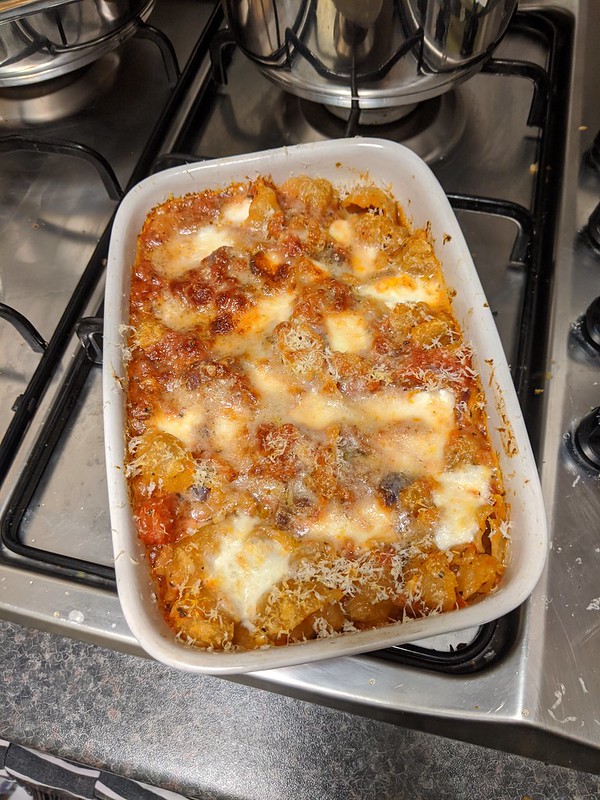
Make the dough as above. The recipe will make one round loaf, two 2lb loaf tins, or a dozen little rolls / baps. The rolls are good for me because I live alone and can’t eat a whole loaf before it goes rock hard. The rolls can be refreshed in the microwave or frozen and used as and when.
Let the dough prove in the mixing bowl somewhere warm until it doubles in size. Ish. Cover it with a tea towel or the top will try and go crispy (not a problem but not ideal). This might take a very long time – up to 18 hours. IF you don’t have anywhere warm, you can put the oven on for a couple of seconds, then turn it off and put the dough in the oven. Just don’t use the oven for anything else accidentally while you do! You can also do the initial prove in the fridge – this will take much longer but the sour flavour develops.
After the first prove, knock it back – do a very small amount of kneading and the dough will collapse.
Then shape the loaf and prove again, covered with a damp teatowel or in a giant plastic bag.
For a round loaf – you need to repeatedly gently pull/smooth the top down and bunch it underneath whilst turning it round. Then allow to rise in a floured banneton. If you don’t have one, flour a dry tea towel well and put it in a colander.
For loaf tins – you need to divide it into two, flatten into squares, roll up the square like a swiss roll and put that in each LINED tin – if you don’t use parchment you may never get it out again! (I haven’t done this in ages and can’t remember if the dough makes 1 or 2 tins!!)
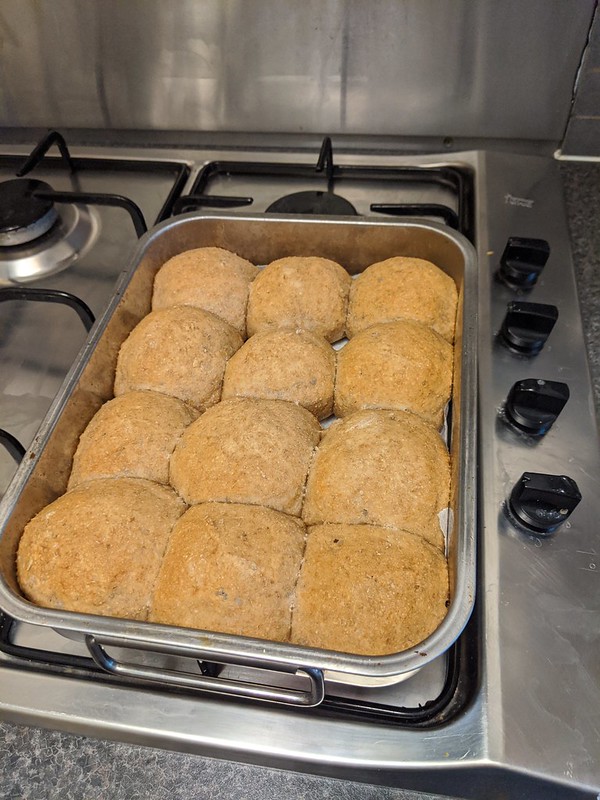
For rolls/cobs/baps – divide dough into half then quarters then each quarter into 3. Roll each piece in your hands and place into a baking tray with sides. Line at least the bottom of the tray.
(this is after it’s risen for the second time:)
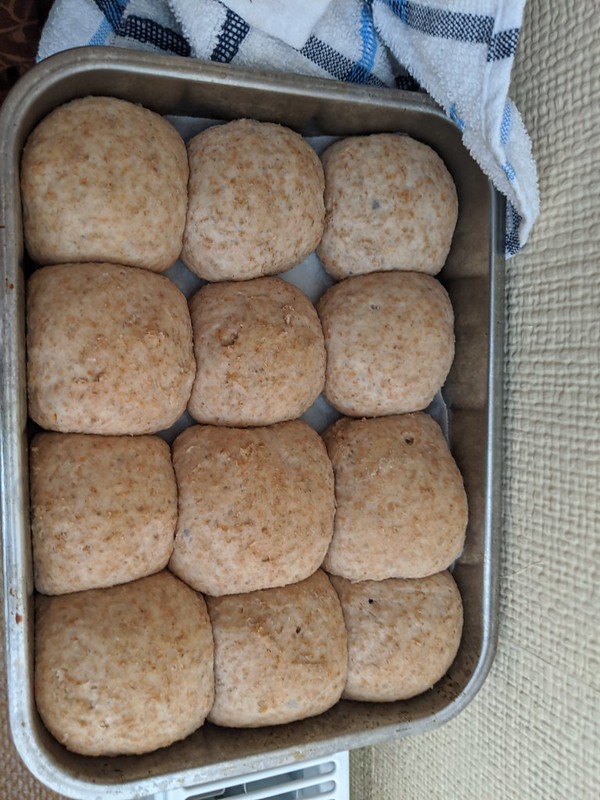
Look at the terrible portion control.
The second prove can be a variety of times too… maybe two three hours?
About 45 minutes before you want to put it in the oven, put the oven on as hot as it will go to have a good go at getting very hot indeed.
I then turn the oven down to 180 when I put the loaf in. Rolls about 20 minutes, loaves in tins about 30, round loaves about 45. Knock the bottom of a baked loaf – it should sound hollow.
You’re looking for “oven spring” which means the loaf gets a lot bigger quickly when it gets to the heat. Because of oven spring it’s good to slash the top of the dough before it goes in the oven with the sharpest knife you have. This controls where the dough opens instead of having it burst at an unpredictable point.

If you’re cooking a round loaf, you can get excellent results if you cook it in a Dutch Oven / Le Creuset / cast iron casserole. Allow the whole pot to heat up to as hot as the oven will go. Turn the round loaf out of the colander / banneton onto a sheet of greaseproof and use this as a sling to lower into the preheated pot. Try to be gentle at this point because you don’t want to knock the air out now! Slash and bake with the lid on.
You can also put icecubes in the oven, even a cup of water, which evaporates and makes steam, and keeps the crust slightly softer.
You’re supposed to let the whole thing cool right down before you slice it, I don’t always manage. You can let it cool with a tea towl over it which lets the crust reabsorb some of the steam and stop it being too sharp on your teeth.
Let me know how you get along!